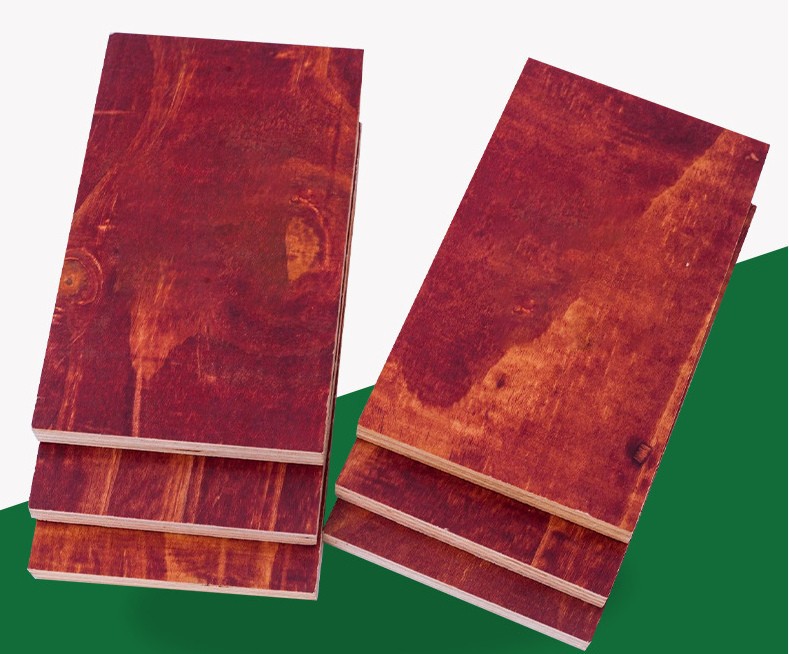
Hey there! I'm a supplier of Sanded Plywood 4x8, and I know a thing or two about taking this versatile building material to the next level. In this blog, I'm gonna share some tips on how to sand Sanded Plywood 4x8 even further to achieve that perfect finish.
Why Sand Further?
First off, you might be wondering why you'd want to sand an already sanded plywood. Well, even though it comes pre - sanded, there could still be minor imperfections like rough edges, small bumps, or uneven surfaces. Further sanding can make it even smoother, which is great if you're using it for projects where a high - quality finish is essential, like cabinetry, furniture making, or even some types of wall paneling.
Tools You'll Need
Before you start sanding, gather the right tools. You'll need different grits of sandpaper. For the initial rough sanding, start with a medium - grit sandpaper, around 80 - 100 grit. This will help you get rid of any major imperfections. Then, move on to a finer grit, like 120 - 150 grit, for a smoother finish. And if you really want that super - smooth surface, finish up with a very fine grit, 220 grit or higher.
You can use either hand - sanding blocks or a power sander. Hand - sanding gives you more control, especially for small areas or edges. But if you're working on a large sheet of plywood, a power sander, like an orbital sander, can save you a ton of time and effort.
Preparing the Plywood
Before you start sanding, it's important to prepare the plywood. First, clean the surface thoroughly. Use a dry cloth to wipe away any dust, dirt, or debris. If there are any sticky substances on the surface, you can use a mild solvent to clean them off, but make sure to let the plywood dry completely before sanding.
Also, check the edges of the plywood. Sometimes, the edges can be a bit rough or splintered. You can use a sharp utility knife to trim any rough edges before sanding. This will make the sanding process go more smoothly and prevent any further splintering.
Sanding Process
Hand - Sanding
If you're using a hand - sanding block, wrap the sandpaper around it tightly. Start sanding in the direction of the wood grain. This is really important because sanding against the grain can leave scratches on the surface. Apply even pressure as you sand, and move the sanding block in long, smooth strokes.
Start with the medium - grit sandpaper. Go over the entire surface of the plywood, paying extra attention to any areas that look rough or uneven. You'll notice that as you sand, the surface will start to feel smoother. After you've sanded the entire surface with the medium - grit sandpaper, switch to the finer grit. Repeat the process, sanding in the direction of the wood grain.
Power Sanding
If you're using a power sander, make sure to read the manufacturer's instructions first. Set the sander to a low speed for the initial sanding with the medium - grit sandpaper. Move the sander in a back - and - forth or circular motion, again following the direction of the wood grain. Keep the sander moving constantly to avoid creating uneven spots on the surface.
As you sand, you'll see a lot of dust being generated. It's a good idea to wear a dust mask and safety goggles to protect yourself. You can also use a vacuum cleaner with a dust - collection attachment to suck up the dust as you sand. This will keep your work area clean and make the sanding process more efficient.
After sanding with the medium - grit sandpaper, switch to the finer grits as described earlier. Remember to sand in the direction of the grain and keep the sander moving evenly.
Dealing with Corners and Edges
Corners and edges can be a bit tricky to sand. For hand - sanding, you can cut the sandpaper into smaller pieces and fold them to fit into the corners. Use a gentle, circular motion to sand the corners.
If you're using a power sander, some orbital sanders come with a small attachment that can be used for sanding edges. If not, you can use a small hand - sanding block for the edges. Just be careful not to sand too aggressively, as this can cause the edges to become too thin or rounded.
Final Checks
Once you've finished sanding, take a close look at the plywood. Run your hand over the surface to feel for any rough spots. If you find any, go back and sand those areas again with the appropriate grit sandpaper.
You can also check the surface under good lighting. Sometimes, you can see imperfections more clearly under bright light. If the surface looks and feels smooth, you're good to go.

Applications of Well - Sanded Plywood
A well - sanded Sanded Plywood 4x8 has a wide range of applications. As I mentioned earlier, it's great for cabinetry. The smooth surface makes it easy to paint or stain, and it gives your cabinets a professional look. It's also ideal for furniture making. Whether you're making a coffee table, a bookshelf, or a dresser, the smooth plywood surface will enhance the overall appearance of the furniture.
For wall paneling, well - sanded plywood can create a sleek and modern look. You can paint it in any color you like or leave it natural for a more rustic look.
Related Products
If you're interested in other types of plywood, we also offer 12mm Construction Plywood, which is great for construction projects. It's strong and durable, and can be used for things like sub - floors or sheathing.
Our Birch Construction Plywood is another excellent option. Birch plywood is known for its high - quality and smooth surface, making it suitable for both construction and decorative applications.
And if you need plywood that can withstand moisture, check out our Waterproof Plywood 4x8 Sheet Lowes. It's perfect for outdoor projects or areas with high humidity.
Contact for Purchase
If you're interested in our Sanded Plywood 4x8 or any of our other products, feel free to reach out to us. We're always happy to answer any questions you might have and discuss your specific needs. Whether you're a professional contractor or a DIY enthusiast, we can provide you with the right plywood for your project.
References
- Woodworking magazines and online forums for general woodworking tips and sanding techniques.
- Manufacturer's instructions for sandpaper and power sanders.