

Hey there! As a supplier of Pine Film Faced Plywood, I've had my fair share of experiences with this awesome material. One common question I get a lot is how to drill holes in Pine Film Faced Plywood. Well, you're in luck because I'm gonna break it down for you step by step.
First off, let's talk a bit about Pine Film Faced Plywood. It's a type of plywood that has a film on one or both sides. This film gives it extra protection, making it more durable and resistant to moisture. You can find different types, like Black Film Plywood, Brown Faced Plywood, and Brown Film Faced Plywood. Each has its own unique look and properties, but the drilling process is pretty much the same for all of them.
Tools You'll Need
Before you start drilling, you gotta gather the right tools. Here's what you'll need:
- Drill: You can use either a corded or cordless drill. Corded drills usually have more power, but cordless ones are more convenient if you need to move around a lot.
- Drill Bits: Make sure you have the right size drill bit for the holes you want to make. For most general purposes, a set of twist drill bits should do the trick.
- Clamps: These are important to hold the plywood in place while you're drilling. You don't want it to move around and mess up your holes.
- Measuring Tools: A tape measure and a pencil are essential for marking the spots where you want to drill.
- Safety Gear: Don't forget to wear safety glasses to protect your eyes from flying debris, and ear protection if your drill is really loud.
Preparing the Plywood
Once you have all your tools ready, it's time to prepare the plywood. Here's how:

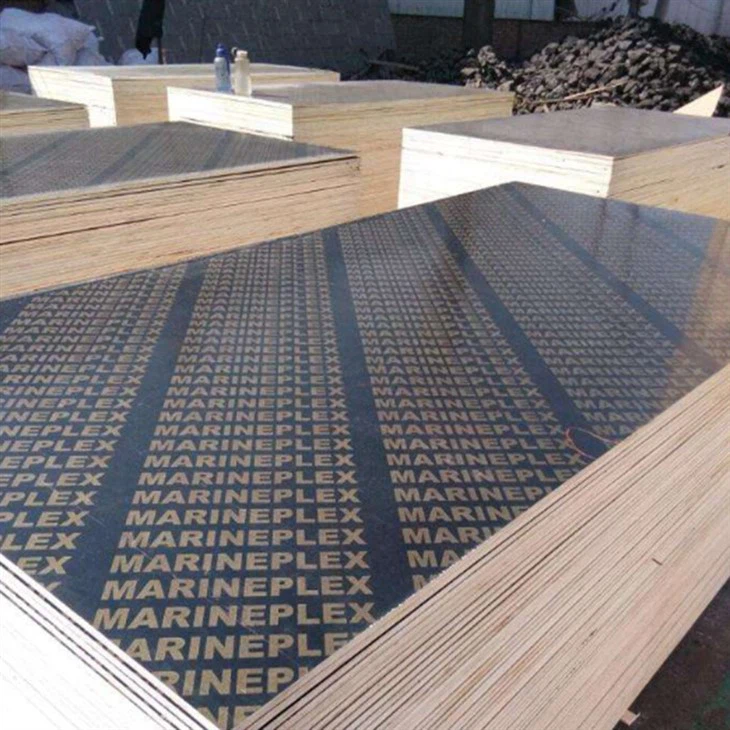
- Clean the Surface: Use a clean cloth to wipe the surface of the plywood. This will remove any dust or debris that could interfere with the drilling process.
- Mark the Drill Spots: Use your measuring tools to mark the exact spots where you want to drill the holes. Make sure you measure twice and mark once to avoid any mistakes.
- Clamp the Plywood: Secure the plywood to a stable work surface using clamps. This will prevent it from moving around while you're drilling.
Drilling the Holes
Now comes the fun part - drilling the holes! Here's a step-by-step guide:
- Choose the Right Drill Bit: Select the drill bit that matches the size of the holes you want to make. Insert the drill bit into the drill chuck and tighten it securely.
- Start Slowly: Begin drilling at a slow speed to create a pilot hole. This will help guide the drill bit and prevent it from wandering off course.
- Apply Steady Pressure: Once the pilot hole is started, apply steady pressure to the drill and gradually increase the speed. Don't push too hard, or you could break the drill bit or damage the plywood.
- Keep the Drill Bit Straight: Make sure the drill bit stays straight while you're drilling. If it starts to tilt, stop drilling and adjust the angle.
- Drill Through the Plywood: Continue drilling until the drill bit goes all the way through the plywood. If you're drilling a thick piece of plywood, you may need to stop and clear the chips from the drill bit a few times.
- Finish the Holes: Once you've drilled all the holes, use a file or sandpaper to smooth the edges of the holes. This will remove any rough spots or burrs.
Tips and Tricks
Here are some tips and tricks to help you drill holes in Pine Film Faced Plywood like a pro:
- Use a Backing Board: If you're drilling through the plywood from one side, place a backing board underneath it. This will prevent the backside of the plywood from splintering.
- Lubricate the Drill Bit: Applying a little bit of lubricant, like WD-40, to the drill bit can help reduce friction and make the drilling process smoother.
- Take Breaks: Drilling can be tiring, especially if you're doing a lot of holes. Take breaks every now and then to avoid getting fatigued.
- Test on a Scrap Piece: If you're not sure how the plywood will react to the drilling process, it's a good idea to test it on a scrap piece first. This will give you a chance to adjust your technique if needed.
Common Problems and Solutions
Even if you follow all the steps correctly, you may still run into some problems while drilling. Here are some common problems and their solutions:
- Splintering: If the edges of the holes are splintering, try using a backing board or reducing the drilling speed. You can also try using a sharper drill bit.
- Burning: If the drill bit starts to burn the plywood, it could be because you're applying too much pressure or using a dull drill bit. Stop drilling and let the drill bit cool down. Then, try reducing the pressure or using a new drill bit.
- Wandering Drill Bit: If the drill bit starts to wander off course, it could be because the pilot hole is not deep enough or the drill bit is not straight. Stop drilling and start a new pilot hole, making sure it's deep enough and the drill bit is straight.
Conclusion
Drilling holes in Pine Film Faced Plywood is not as difficult as it may seem. With the right tools, a little bit of preparation, and some practice, you can do it like a pro. Just remember to follow the steps outlined in this blog post, and you'll be on your way to creating perfect holes in no time.
If you're in the market for high-quality Pine Film Faced Plywood, look no further! As a supplier, I can offer you a wide range of options to meet your needs. Whether you're working on a small DIY project or a large construction job, I've got you covered. So, don't hesitate to reach out and start a conversation about your procurement needs. I'm here to help you find the perfect solution for your project.
References
- Woodworking magazines and online resources for general woodworking tips and techniques.
- Manufacturer's instructions for the drill and drill bits.